As we covered in our announcement of BoltzGen's arrival to the Ariax platform, BoltzGen is a revolutionary all-atom universal binder design model from the MIT team behind Boltz. It extends beyond miniproteins to design VHH nanobodies, cyclic peptides, helicons, and more, achieving state-of-the-art success rates including 66% target-level hits on genuinely novel targets.
This tutorial walks you through the complete workflow of running BoltzGen on Ariax, using our submission to the Adaptyv Nipah Competition as a real-world example.
Note: For technical details, see the BoltzGen paper and the official GitHub repository.
The Adaptyv Nipah Competition
Adaptyv Bio has established itself as a key player in validating computational protein design through their international design competitions. These competitions provide a unique proving ground: participants submit computational designs, and Adaptyv synthesizes and experimentally characterizes them, creating valuable benchmarks for the entire field.
The first competition validated 200 EGFR binder designs, achieving a 73% expression rate and 2.5% binding hit rate. The second competition scaled up to 400 designs with dramatically improved results: 95% expression success and 14% binding success, representing a fivefold improvement in just three months. As the Adaptyv team noted, expression has been essentially "solved" through tools like SolubleMPNN, but predicting binding success remains the field's most pressing challenge.
Critically for the open-source community, BindCraft dominated the de novo design category, the most difficult design task where completely novel proteins are created from scratch. Of the 7 de novo binders that succeeded, 6 came from BindCraft. While optimization of existing binders (antibodies, nanobodies, natural ligands) produced the highest overall success rates, de novo design represents the frontier where computational methods must prove they can create something genuinely new. As we discussed in our BindCraft overview, this performance cemented open-source hallucination approaches as the state of the art.
The third competition—the Nipah Binder Competition—is the most ambitious yet. Adaptyv will synthesize and characterize 1,000 designs, targeting the Nipah Virus Glycoprotein-G (NiV-G). NiV-G is the viral surface protein responsible for attaching to human cells via Ephrin-B2/B3 receptors. High-affinity binders against NiV-G could block viral entry, enabling therapeutic antibodies or diagnostics against future outbreaks. Nipah is a WHO-priority pathogen with case fatality rates up to 75% and no approved treatments, making this competition both scientifically challenging and globally significant.
For this competition, we submitted designs from both VHH (nanobody) and miniprotein campaigns, each generating 10,000 designs using the author-recommended minimum. This tutorial walks through exactly how we set up those campaigns.
Understanding the BoltzGen Workflow
BoltzGen operates through a fundamentally different paradigm than BindCraft. Rather than iteratively hallucinating and optimizing individual designs through AlphaFold2 backpropagation, BoltzGen runs a multi-stage pipeline:
- Design: Generates candidate binder structures using a generative model trained on protein-protein interaction data
- Inverse Folding: Designs sequences for each candidate structure
- Design Folding: Validates designed sequences fold correctly
- Folding: Predicts complex structures using Boltz-2
- Affinity & Analysis: Scores and analyzes predicted binding
- Filtering: Ranks and selects top candidates
The key distinction is predictability: BoltzGen campaigns have fixed runtimes based on the number of designs you request, not on how many pass filters. The authors recommend generating 10,000–60,000 designs per campaign to ensure diverse coverage of the binding landscape.
Step 1: Preparing Your Target with Prep Inputs

As with any protein design campaign, proper target preparation is critical. For BoltzGen, we use Ariax's Prep Inputs tool, which has been specifically tailored to support BoltzGen's unique requirements.
Loading the Structure
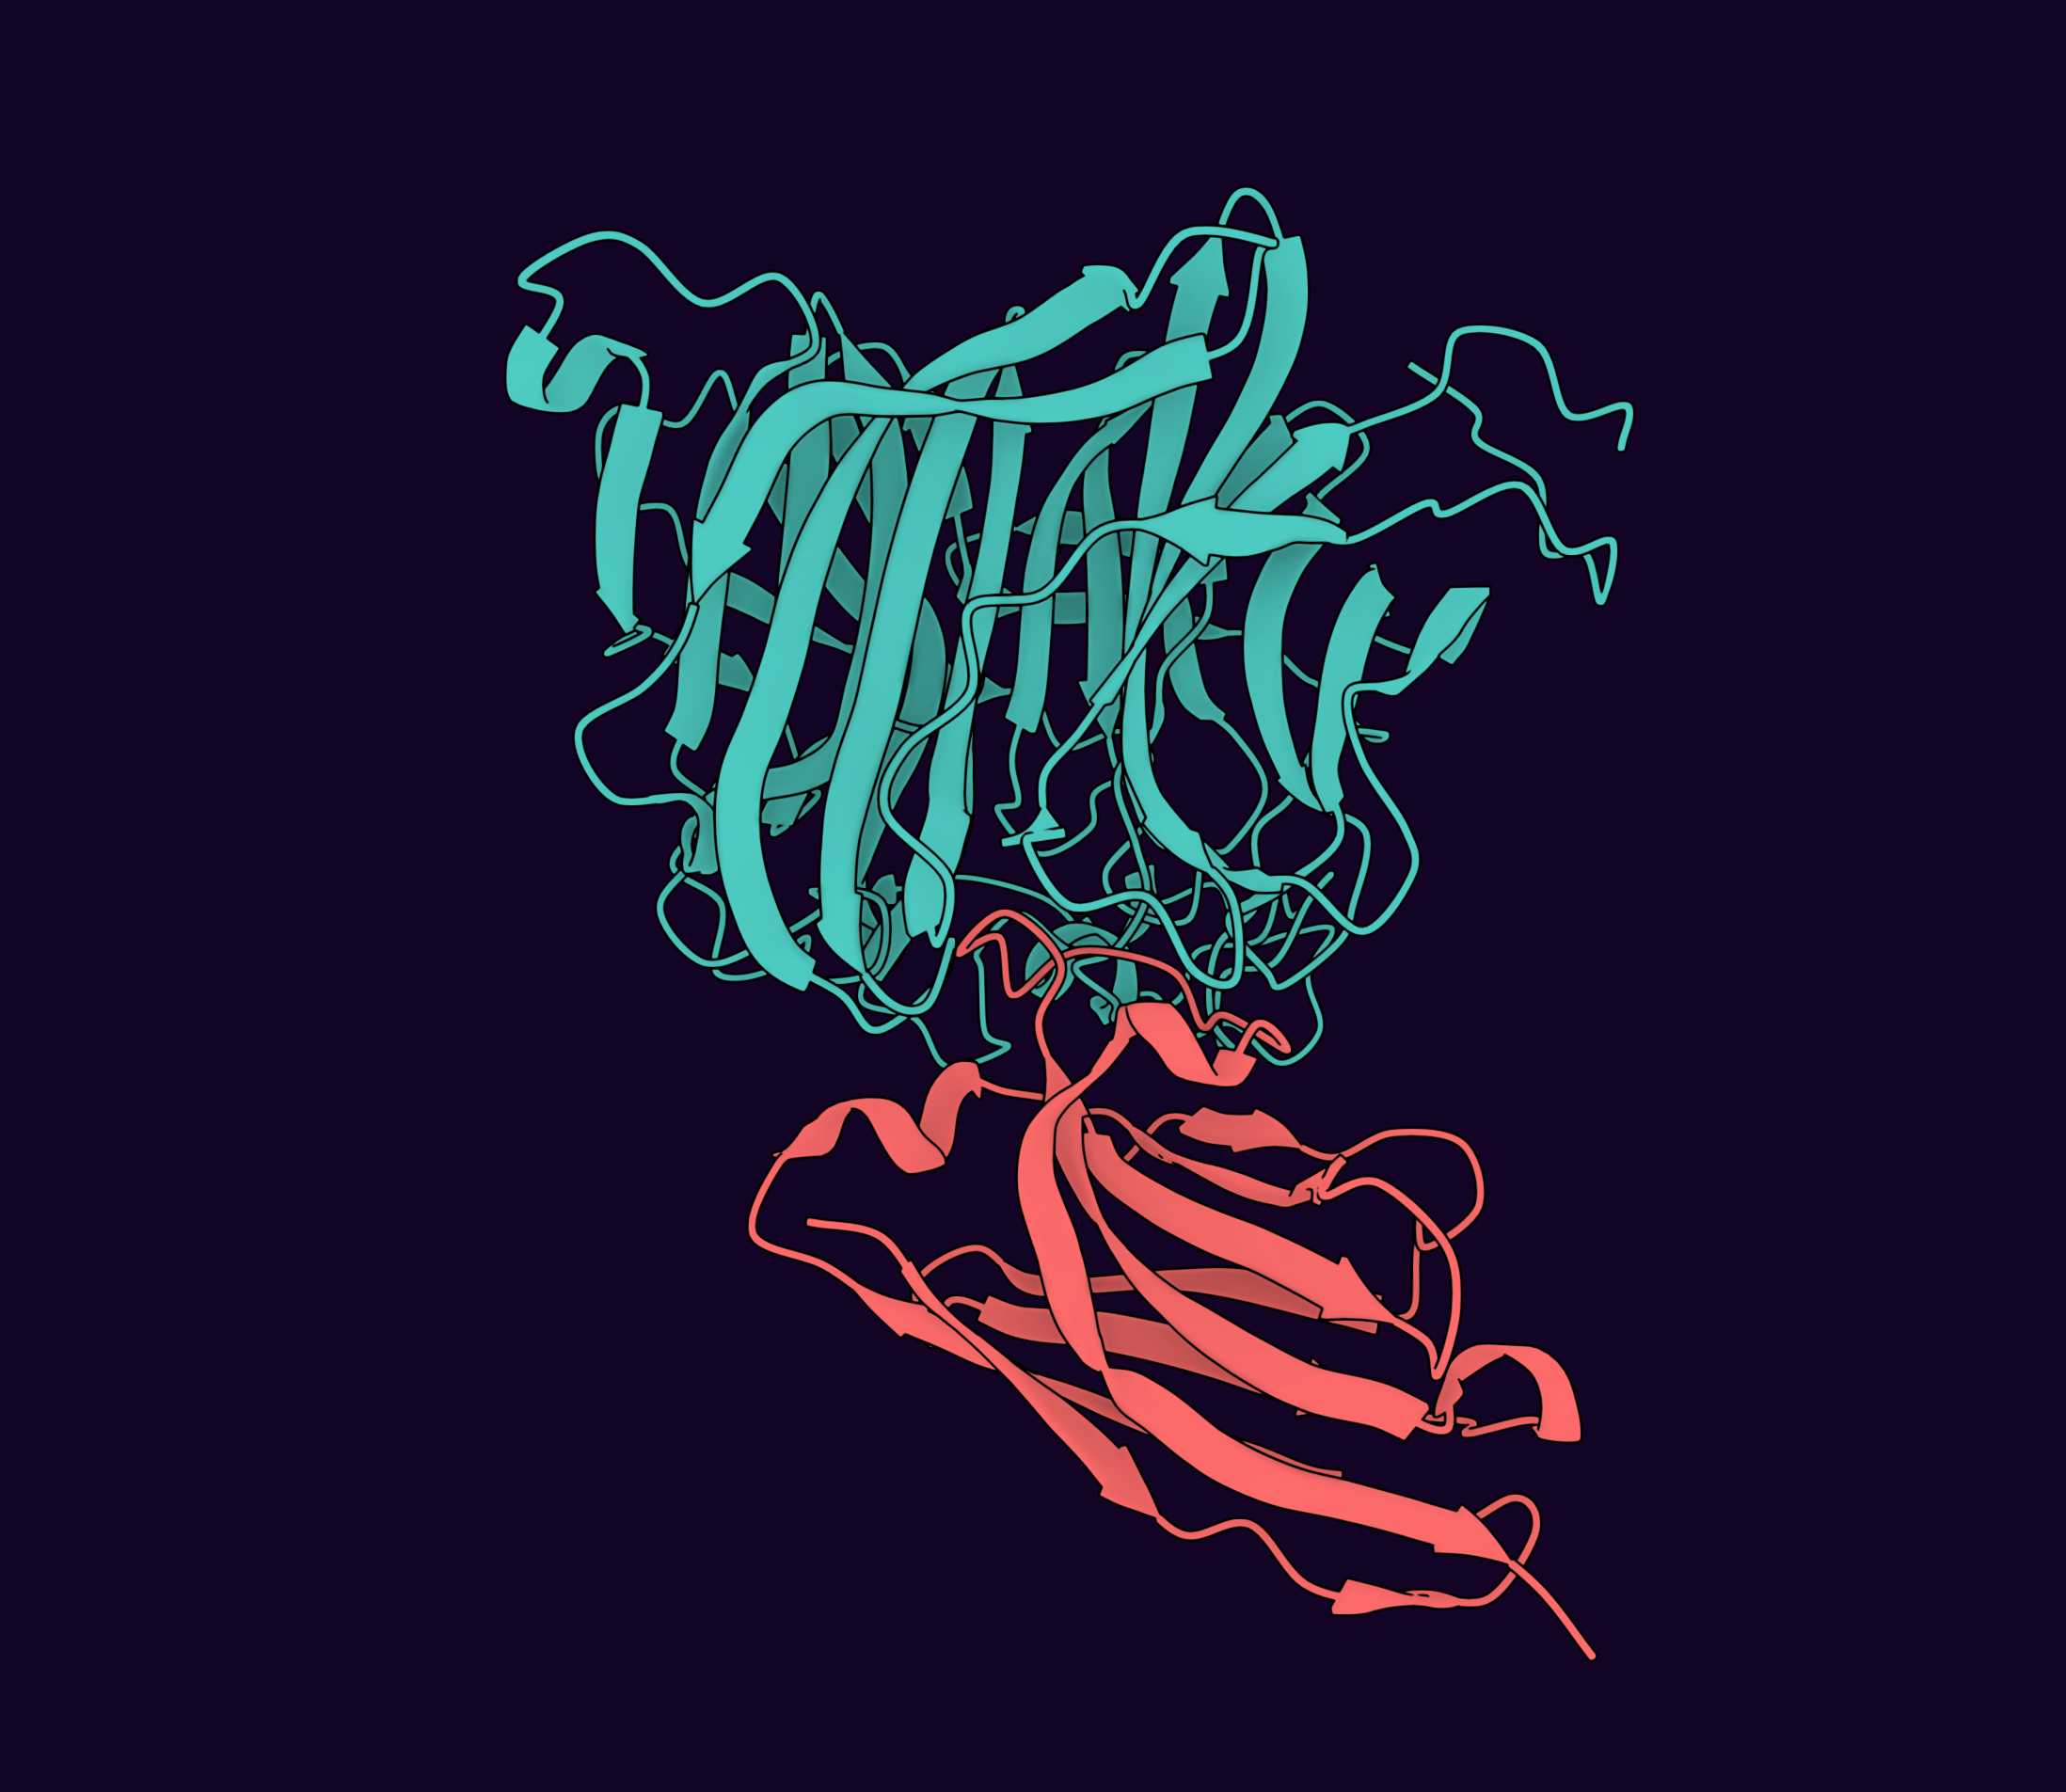
We started by using the RCSB search feature to fetch the crystal structure of NiV-G in complex with Ephrin-B2 (PDB: 2VSM). You can also upload your own structure file directly—both CIF and PDB formats are supported. After loading the structure, we deselected chain B (Ephrin-B2) since this binding interface is where we want our designed binders to engage.
Understanding Canonical Indexing
A major difference between BoltzGen and BindCraft is how residue indices are handled. BoltzGen requires canonical CIF residue indexing, where chains always start at residue 1 regardless of the original numbering in the PDB file.
The Ariax platform handles this automatically:
- All hotspots (from manual 3D selection or proximity detection) are converted to canonical indexing
- The NGL viewer displays both author and canonical residue numbers for easy comparison
- A banner indicates when index shifts have been applied
This automatic conversion eliminates a common source of errors when setting up BoltzGen jobs manually.
Selecting Hotspots with Proximity Detection
To define our binding interface, we used the guided hotspot selector based on proximity. We selected all residues in NiV-G (chain A) within 4.5 Å of Ephrin-B2 (chain B). This automatically identifies the interface residues—exactly where we want our designed binders to engage.


Key Insight: Even though we deselected Ephrin-B2, we can still use it as a reference for proximity-based hotspot selection. The deselected chain is excluded from the final PDB but remains available for distance calculations.
Alternative approaches:
- Manual 3D selection: Click residues directly in the viewer to toggle hotspot status
- Direct text entry: Type hotspot residues in BoltzGen's syntax for each chain (e.g.,
5..20,25,30)
Understanding Binding Rules
BoltzGen introduces a powerful concept not available in BindCraft: not_binding masks. These specify regions where binders should not bind. This is particularly useful for:
- Avoiding glycosylation sites or post-translational modification sites
- Steering designs away from crucial protein:protein interfaces or interaction sites with ligands
- Targeting specific epitopes while avoiding others
The Prep Inputs interface provides separate input fields for binding and not_binding masks per chain, with real-time validation and overlap detection.
Handing Off to BoltzGen
After configuring our target and hotspots, we clicked "Use in BoltzGen" to transfer everything to the BoltzGen project setup page. This automatically populates:
- The trimmed structure file (re-indexed to canonical numbering)
- All chain and hotspot settings
- Binding and not_binding masks
Step 2: Configuring Your BoltzGen Campaign
The BoltzGen setup page allows you to configure the design modality, campaign size, and GPU preferences.
Choosing Your Design Modality
BoltzGen supports multiple binder types, each with specialized settings:
| Modality | Description | Length Range |
|---|---|---|
| Miniprotein | De novo designed proteins | 65-150 AA (default) |
| VHH | Single-domain ('nanobody') antibody fragments | Fixed scaffold |
| Peptide | Unmodified linear peptides | 10-30 AA |
| Cyclic Peptide | N-C terminus linked peptides | 8-30 AA |
| Helicon | Stapled alpha-helical peptides | 14-22 AA |
For our Nipah campaign, we created two separate projects:
- VHH campaign: Using the VHH modality with default settings
- Miniprotein campaign: Using 65-150 amino acid range

Setting Campaign Size
We used the author-recommended 10,000 designs for each campaign. The budget parameter (default: 100) controls how many top designs are moved to the final ranked designs folder. These are the ideal candidates for experimental validation.
GPU Configuration
BoltzGen requires powerful GPUs to execute its pipeline, and larger targets like NiV-G (>400 residues) demand more capable hardware. We selected:
- Turbo Mode: Enabled for fastest possible completion by provisioning multi-GPU instances for parallel processing (we procastinated and the competition deadline was approaching!)
- Performance Priority: Most powerful GPUs selected first
Step 3: Validating and Launching
Before starting, click "Validate Settings" to verify your configuration:
- Confirms target structure is properly formatted
- Validates hotspot residues exist in the structure
- Checks binding/not_binding masks don't overlap
- Highlights selected hotspots in the 3D viewer

If validation passes, click "Start BoltzGen" to launch your campaign. You'll be automatically redirected to the project status page.
Using Clone and Reuse
For our second campaign, we used the "Clone and Reuse" feature from the project status page. This copies the exact structure and hotspot configuration, allowing us to simply switch from VHH to miniprotein modality without re-entering any target information.
Step 4: Monitoring Your Campaign
BoltzGen campaigns have predictable runtimes based on:
- Number of designs requested
- Target protein size
- GPU configuration

The project status page shows real-time progress through each stage:
- Design: Generating candidate binder structures
- Inverse Folding: Designing sequences for each structure
- Design Folding: Validating sequence-structure compatibility
- Folding: Predicting complex structures with Boltz-2
- Affinity & Analysis: Scoring predicted binding interactions
- Filtering: Ranking and selecting top candidates
Viewing Results
Unlike BindCraft, BoltzGen processes all designs through each stage before moving to the next. However, you can view intermediate outputs as they're generated:
- Intermediate Designs: Initial candidate structures
- Intermediate Inverse Folded: Designs after sequence optimization
Note: Inverse folded intermediates have placeholder coordinates (0,0,0) for sidechains, so only backbone visualization is available for these files.
Once your campaign completes, the Final Ranked Designs tab displays your top candidates—the designs that scored highest through BoltzGen's filtering pipeline. These are the structures most likely to succeed in experimental validation.
Clicking any file in the results table renders the structure directly in the integrated NGL viewer. This lets you visually inspect each design's predicted binding pose, examine the interface contacts, and compare candidates before deciding which to synthesize.


Viewing Logs
For deeper insight into what BoltzGen is doing under the hood, the Logs tab provides real-time access to the pipeline's output. This is useful for monitoring progress, debugging issues, or simply understanding how BoltzGen is processing your designs through each stage.
Downloading Results
Once complete, all outputs are organized into three folders and archived as downloadable ZIPs:
- Final Ranked Designs: Your top candidates after filtering and diversity optimization (the number is set by the
budgetparameter) - Intermediate Designs: Raw backbone structures generated by the diffusion model—these are the initial structural scaffolds before sequence design
- Intermediate Inverse Folded: The complete pipeline outputs including inverse-folded sequences and Boltz-2 structure predictions
Click the download button to retrieve ZIP archives of each category, or download individual files by clicking the icon next to each design in the results table. The ZIP archive download button is only enabled once the corresponding ZIP file is created at the end of the BoltzGen run.
Campaign Results: Nipah Competition
Our Adaptyv competition campaigns completed with the following statistics:
| Campaign | Runtime | GPU Configuration | GPU Hours | Target Size |
|---|---|---|---|---|
| VHH (10,000 designs) | 9.97 hrs | 8x B200 | 80 B200-hrs | 400 residues |
| Miniprotein (10,000 designs) | 12.84 hrs | 8x H200 | 103 H200-hrs | 400 residues |
These were computationally intensive campaigns due to the large NiV-G target. For reference, typical campaign times with smaller targets:
- 10,000 VHH designs for 123 AA target: 3.9 hours with 8x B200 (31 B200-hrs)
- 10,000 miniprotein designs for 188 AA target: 4.7 hours with 8x B200 (38 B200-hrs)
Runtime scales linearly with design count, so a 20,000-design campaign takes approximately twice as long.
Tips for BoltzGen Success
Run a pilot campaign first. Start with 25-50 designs to validate your BoltzGen settings—hotspots, binding masks, and length parameters—before committing to a full run. Once you're confident in your configuration, scale up to 10,000 designs for sufficient diversity, or 30,000-60,000 for broader coverage of the binding landscape.
Consider the not_binding mask. If there are regions you explicitly want to avoid (glycosylation sites, aggregation-prone patches), specify them in the not_binding mask to steer designs away.
Match GPU power to target size. Large proteins (>400 residues) benefit significantly from H100/H200/B200 GPUs. Smaller targets run efficiently on most GPU models.
Turbo Mode is ideal for BoltzGen. BoltzGen's runtime is entirely predictable based on design count and target size. This predictability makes Turbo Mode a safe investment—you know exactly how much parallelization will reduce your wall-clock time without risking over-provisioning.
Use Clone and Reuse for parallel campaigns. Running multiple campaigns in parallel lets you explore different binding modalities with similar target configurations.
Wrapping Up
BoltzGen opens up crucial design modalities including VHH nanobodies, cyclic peptides, helicons, and small molecule binders alongside de novo miniproteins and unmodified peptides. Combined with BindCraft's proven miniprotein and alpha-helical peptide capabilities, Ariax now offers comprehensive coverage of the therapeutic binder landscape.
For questions about BoltzGen or help with your design campaigns, check out our documentation or reach out to our team. We're always interested in hearing about the targets you're working on and the designs you're creating. And if there are advanced BoltzGen features you'd like to see supported on Ariax, let us know; we're actively expanding our capabilities based on user feedback.
Ready to design your first BoltzGen binders? Start your campaign on Ariax→