Many researchers new to computational protein design discover that one of the most challenging aspects isn't running the actual design algorithm. Rather, it's properly preparing the target structure file before you even start. This preparation involves converting structure files to compatible formats, trimming them to minimize compute requirements, and identifying appropriate target hotspots for the design process.
Traditionally, this work requires specialized structural biology software like PyMOL or ChimeraX. While these programs are powerful, they present a steep learning curve and offer far more functionality than most users need for basic job setup. We've heard from many users that structure preparation remains one of the biggest barriers preventing them from starting their first protein design project.
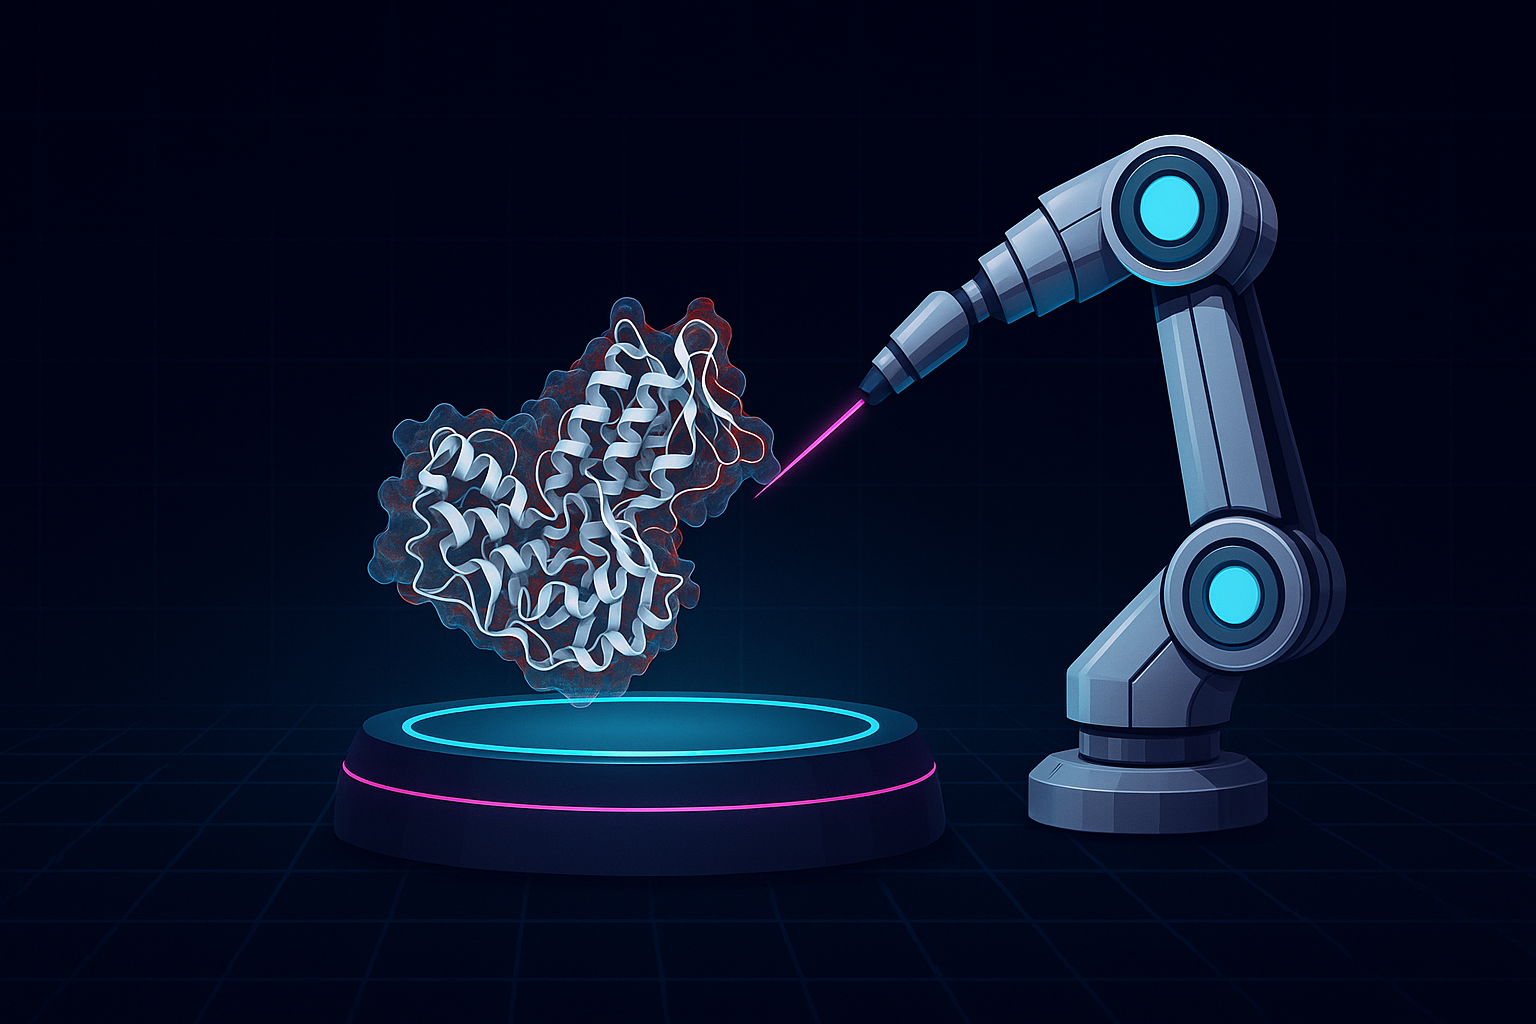
Introducing Prep Inputs: Structure Preparation in Your Browser
To address this challenge, we've built a dedicated structure preparation tool that handles everything you need to configure target files for BindCraft and other protein design platforms. Prep Inputs runs entirely in your browser with no installation required. Better yet, it's completely free for anyone to use, with no files uploaded to our servers and all processing happening locally on your computer. There's no requirement to run your design job on Ariax to use this tool.
You can access Prep Inputs from the main navigation menu after signing up for an Ariax account, or by navigating directly to the Prep Inputs page after logging in.
Step 1: Loading Your Target Structure
Prep Inputs supports two methods for loading structures, identical to the workflow described in our BindCraft setup documentation:
Select a local file: Select any PDB or CIF file from your computer. The tool automatically parses both formats and converts everything to PDB for final export.
Search RCSB directly: Type a PDB ID (like "4GS7") or keyword search term. Results populate instantly with structure titles, and clicking any entry automatically loads that structure.
Once your structure loads, the tool extracts all chain and residue information, displays them in the selection panel, and renders the full structure in the 3D viewer.

Step 2: Selecting and Trimming Chains
After loading, you'll see checkboxes for every protein chain detected in your structure. By default, all chains are selected. Unchecking a chain removes it from both the final exported file and the 3D visualization.
For optimal design efficiency, you should trim your target structure as aggressively as possible while preserving the regions you care about. As we discuss in our miniprotein design tutorial, targets under 300 amino acids run efficiently on most GPUs, while larger structures require more powerful hardware and longer runtimes.
Understanding the Residue Display

Below each chain name, you'll see all residues displayed as single-letter amino acid codes. Each residue can be clicked to toggle its visibility. Hidden residues appear with strikethrough text and reduced opacity. You can also click and drag to select or deselect ranges of residues.
Missing residues in the structure file (common in crystal structures with disordered regions) appear as dots or gap indicators. Large gaps show compressed markers to keep the interface manageable.
Step 3: Using Visualization Modes to Guide Trimming
Prep Inputs provides several molecular representation modes to help you make informed trimming decisions:
Cartoon (default): Standard ribbon representation highlighting secondary structure. Best for identifying domain boundaries and overall protein architecture.
Licorice: All-atom stick representation. Useful for examining detailed atomic arrangements and interface contacts.
Surface: Molecular surface colored by chain. Reveals binding pockets and exposed vs. buried regions.
Electrostatic Surface: Surface colored by electrostatic potential. Helps identify charged patches and hydrophobic regions suitable for targeting.
You can toggle between these modes using the icon buttons next to each chain name. For cartoon mode, you can also enable sidechain display to see more structural detail while maintaining the ribbon backbone.
Coloring Schemes for Structural Analysis
Beyond the representation mode, you can color chains by several properties:
Chain (default): Each chain gets a distinct color for easy identification.
B-factor: Colors residues by crystallographic temperature factors or AlphaFold pLDDT confidence scores. The tool automatically detects which type of B-factor data is present:
- For predicted structures (AlphaFold), higher values (blue) indicate greater confidence
- For experimental structures, higher values (red) indicate greater disorder or flexibility
High B-factor/low confidence regions are often good candidates for trimming since they tend to be disordered or poorly defined.

Secondary structure (2°): Colors helices, sheets, and coils distinctly. Useful for distinguishing structured from unstructured regions and to identify domain boundaries.
These coloring schemes work synergistically with the residue display. You can quickly identify poorly ordered regions in the 3D view, then locate and remove those specific residues in the sequence panel.
Step 4: Monitoring Structure Size
As you trim your structure, a status indicator below the viewer tracks the total residue count and provides guidance:
- Green (< 400 residues): Structure is well-sized for BindCraft on all GPUs on the Ariax Platform (48GB+) of VRAM)
- Yellow (400-800 residues): Large target requiring powerful GPUs (H100+ with 80GB VRAM or more) and slower design times
- Red (> 800 residues): Very large target with high risk of crashes or extreme slowdowns: not recommended for BindCraft
This real-time feedback helps you make informed decisions about how much to trim versus the structural regions you want to preserve. Remember, you can always run multiple design campaigns with different trimmed versions and to explore various binding sites.
Step 5: Selecting Target Hotspots
After trimming your structure, you can optionally define hotspot residues that BindCraft should preferentially target. As explained in our BindCraft tutorial, hotspots help focus designs on specific functional sites, though BindCraft can also identify promising binding sites automatically.
Prep Inputs offers two complementary approaches:
Manual Hotspot Selection
Toggle "Select Hotspots" mode, then click residues directly in the 3D viewer to add or remove them from your hotspot set. Selected hotspots appear highlighted with yellow rings in the viewer and are automatically formatted in BindCraft-compatible notation (e.g., "A45,A50-55,B20").
Proximity-Based Selection
For targeting protein-protein interfaces, the proximity tool automatically identifies all residues within a specified distance (default 4.5 Å) of another chain or specific residues. This is particularly useful for designing competitive inhibitors that disrupt existing interactions.
Configure the proximity search by selecting:
- Target Chain: Which chain(s) to search for interface residues
- Radius: Distance threshold in angstroms
- Reference Chain: Which chain(s) or residues define the interface
- Residues (optional): Specific residue ranges to calculate proximity from
Click "Detect Interface Residues" and the tool automatically identifies and selects all qualifying hotspot residues.

The formatted hotspot string updates in real-time as you add or remove residues, ensuring compatibility with BindCraft and other design platforms that use the same notation.
Step 6: Exporting Your Prepared Structure
Once you've trimmed your structure and optionally defined hotspots, you have two export options:
Download Trimmed PDB: Saves a clean PDB file with only your selected chains and residues. This file works with BindCraft and likely any other protein design platform that accepts PDB input.
Use in BindCraft: Automatically transfers your trimmed structure, chain selections, and hotspot configuration to the BindCraft project setup page. This seamless handoff eliminates any copy-paste errors and lets you launch a design job immediately.
Both options ensure your structure is properly formatted and ready for design workflows, with all REMARK headers indicating which chains and hotspots were selected.
Practical Tips for Structure Preparation
Trim aggressively, but preserve context. Remove unstructured termini and domains far from your binding site of interest. But keep enough surrounding structure to provide conformational context for the target site.
Try proximity detection for targeting interfaces. If your goal is to bind at an existing protein-protein interaction, use the proximity tool to automatically identify the interface, then design binders targeting those residues.
Validate your trimming visually. After removing residues, rotate the structure in the 3D viewer to ensure you haven't accidentally created fragmented chains or removed critical structural elements.
Export multiple versions for exploration. Structure preparation is as much art as science. Consider preparing several trimmed variants with different domain boundaries or hotspot selections, then run parallel design campaigns to see which approach yields the best results.
Enabling Structure Preparation Beyond BindCraft
While we designed Prep Inputs with BindCraft in mind, the tool works equally well for preparing structures for other design platforms. The PDB files you export are compatible with RFdiffusion, ColabDesign, and likely any other tool that accepts PDB input. The hotspot notation follows conventions used across multiple design frameworks in the field.
This universality aligns with Ariax's broader mission of democratizing computational protein design by removing barriers to entry. Whether you ultimately run your design jobs on Ariax or elsewhere, we want to ensure structure preparation never stands between you and testing your therapeutic hypotheses.
Ready to prep for your protein design job? Access Prep Inputs with a Free Acccount on Ariax→